> ## Documentation Index
> Fetch the complete documentation index at: https://hogpass.com/docs/llms.txt
> Use this file to discover all available pages before exploring further.
# Credential & Policy Layer for AI Agents
> Give your AI agents secure access to external services. Store credentials once, inject them at request time, and control what your agents can do. Your agents never see the keys.
[Hogpass](https://hogpass.com) gives your AI agents secure access to external services. Store credentials once, inject them at request time, and control what your agents can do. Your agents never see the keys.
Sign up at [app.onecli.sh](https://app.onecli.sh), connect your services, and point your agent through Hogpass. No code changes needed.
 ## Get your API key
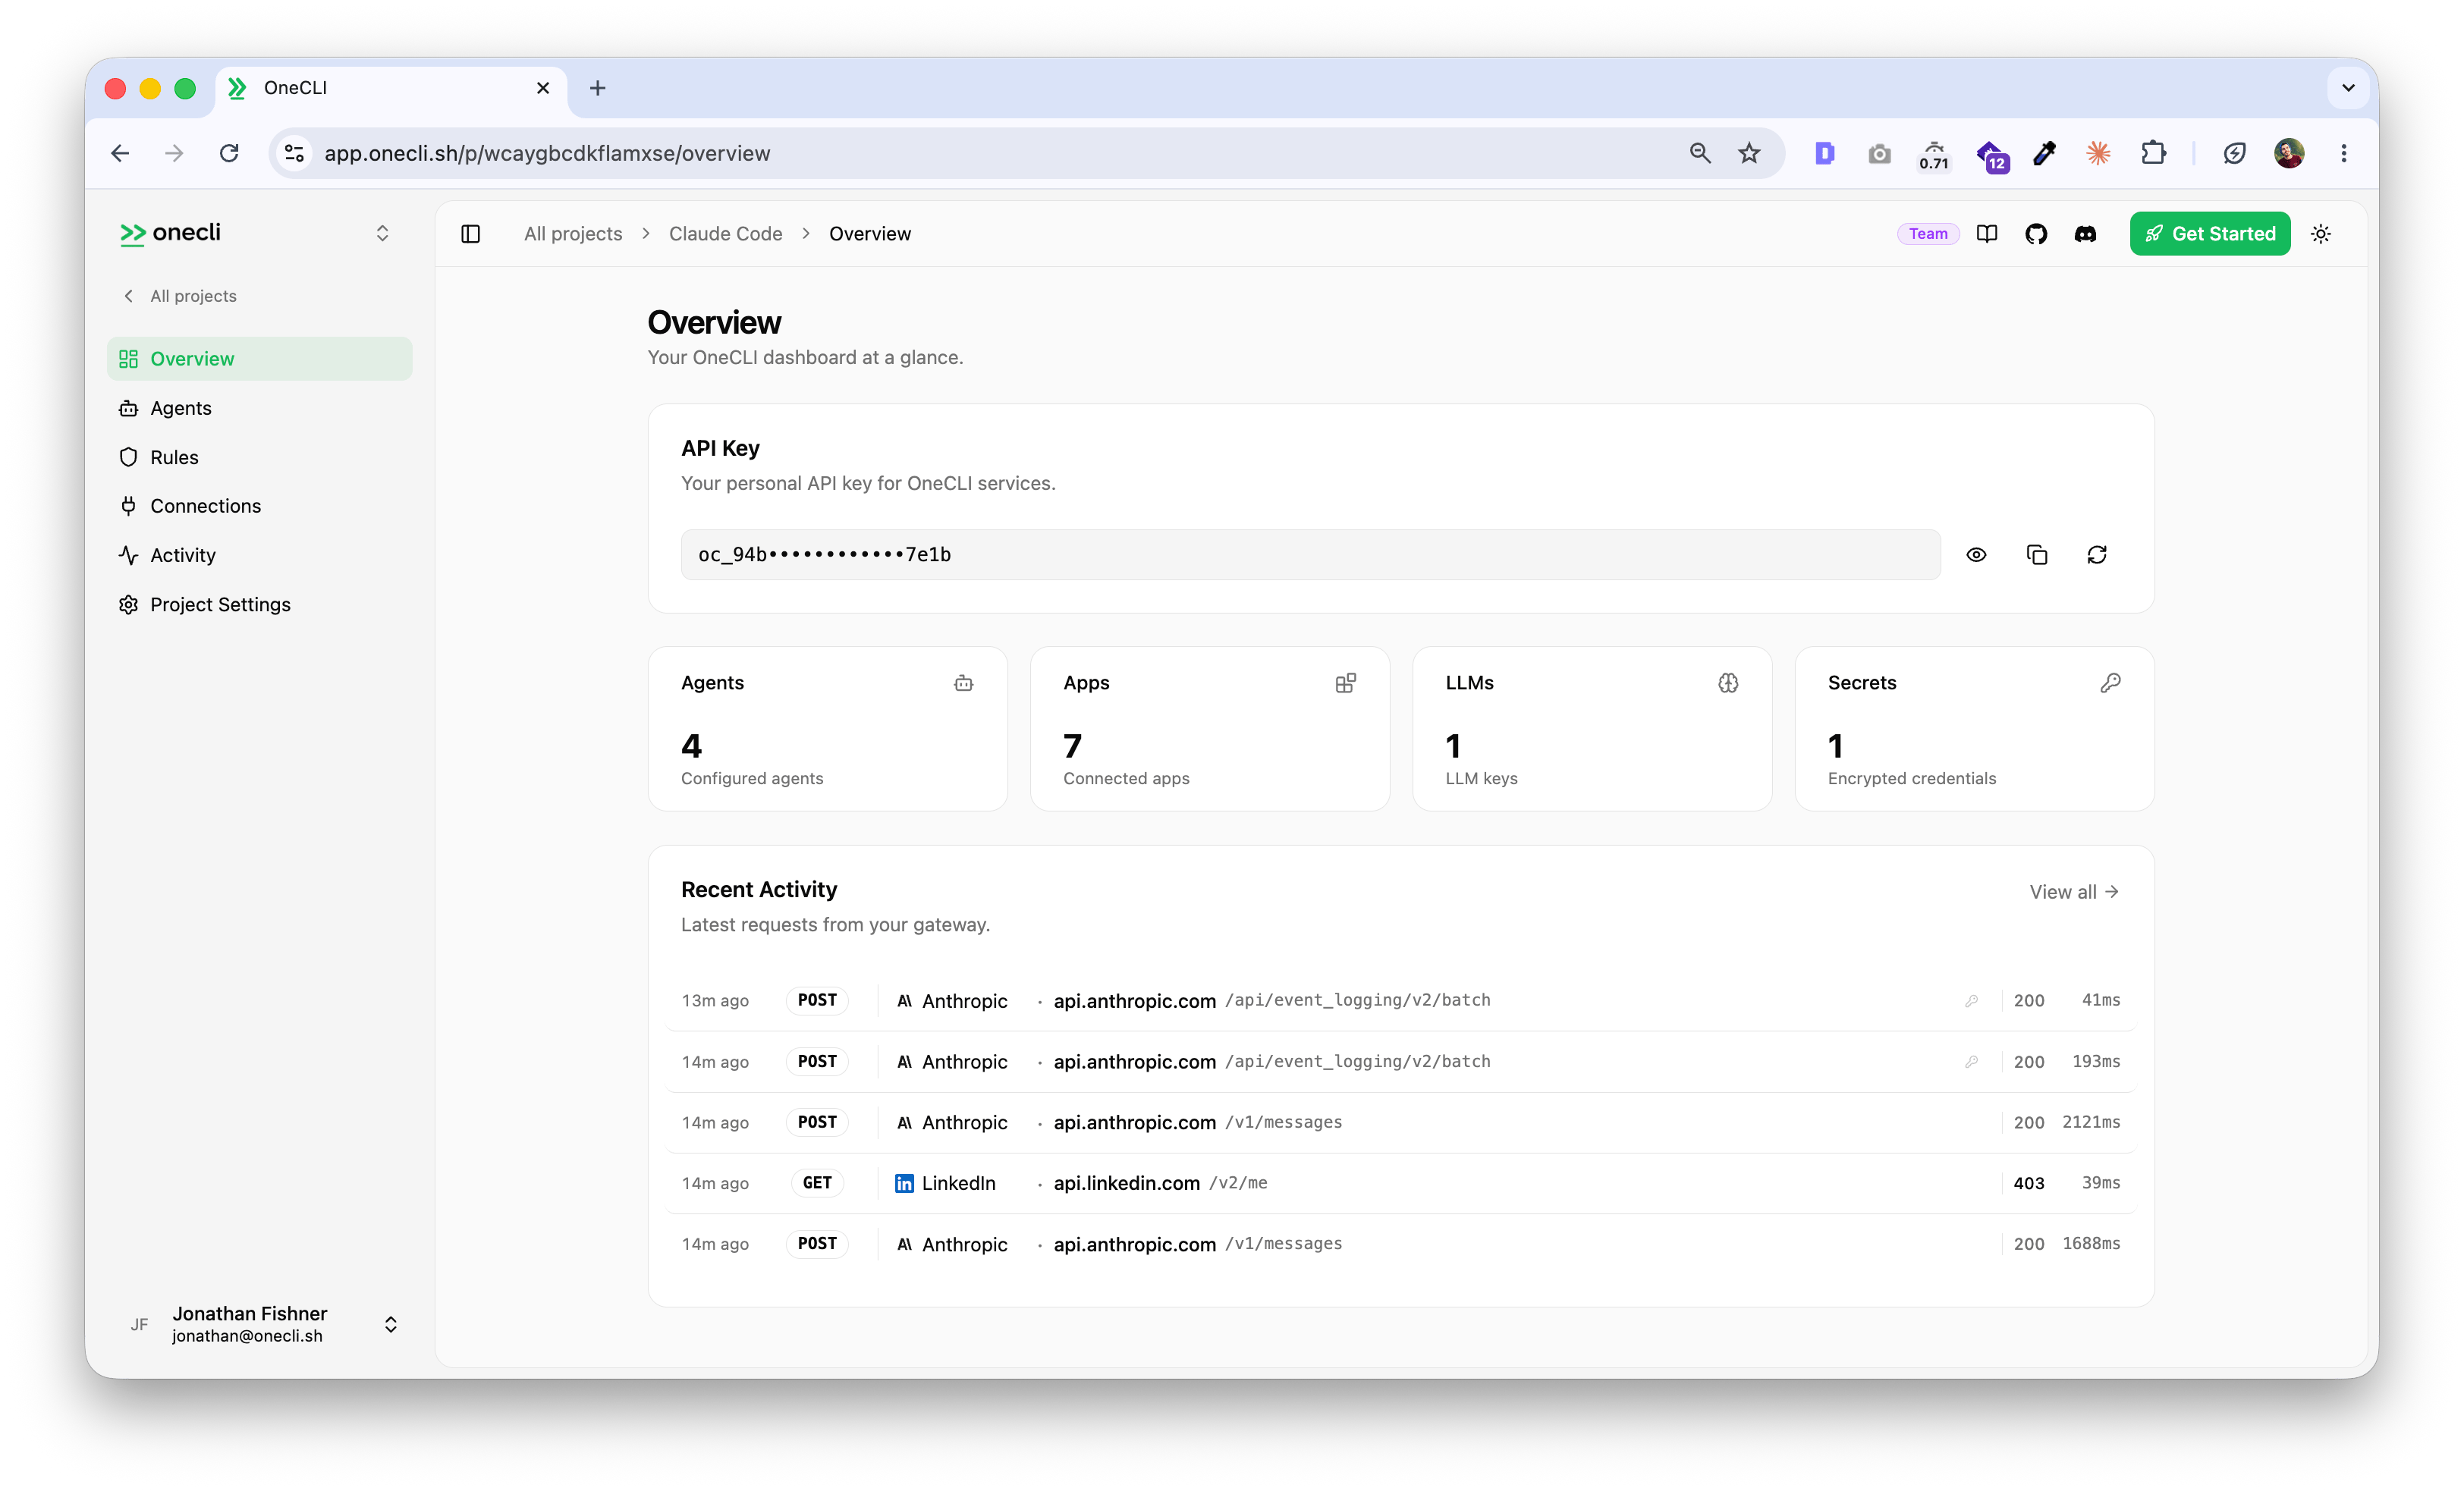
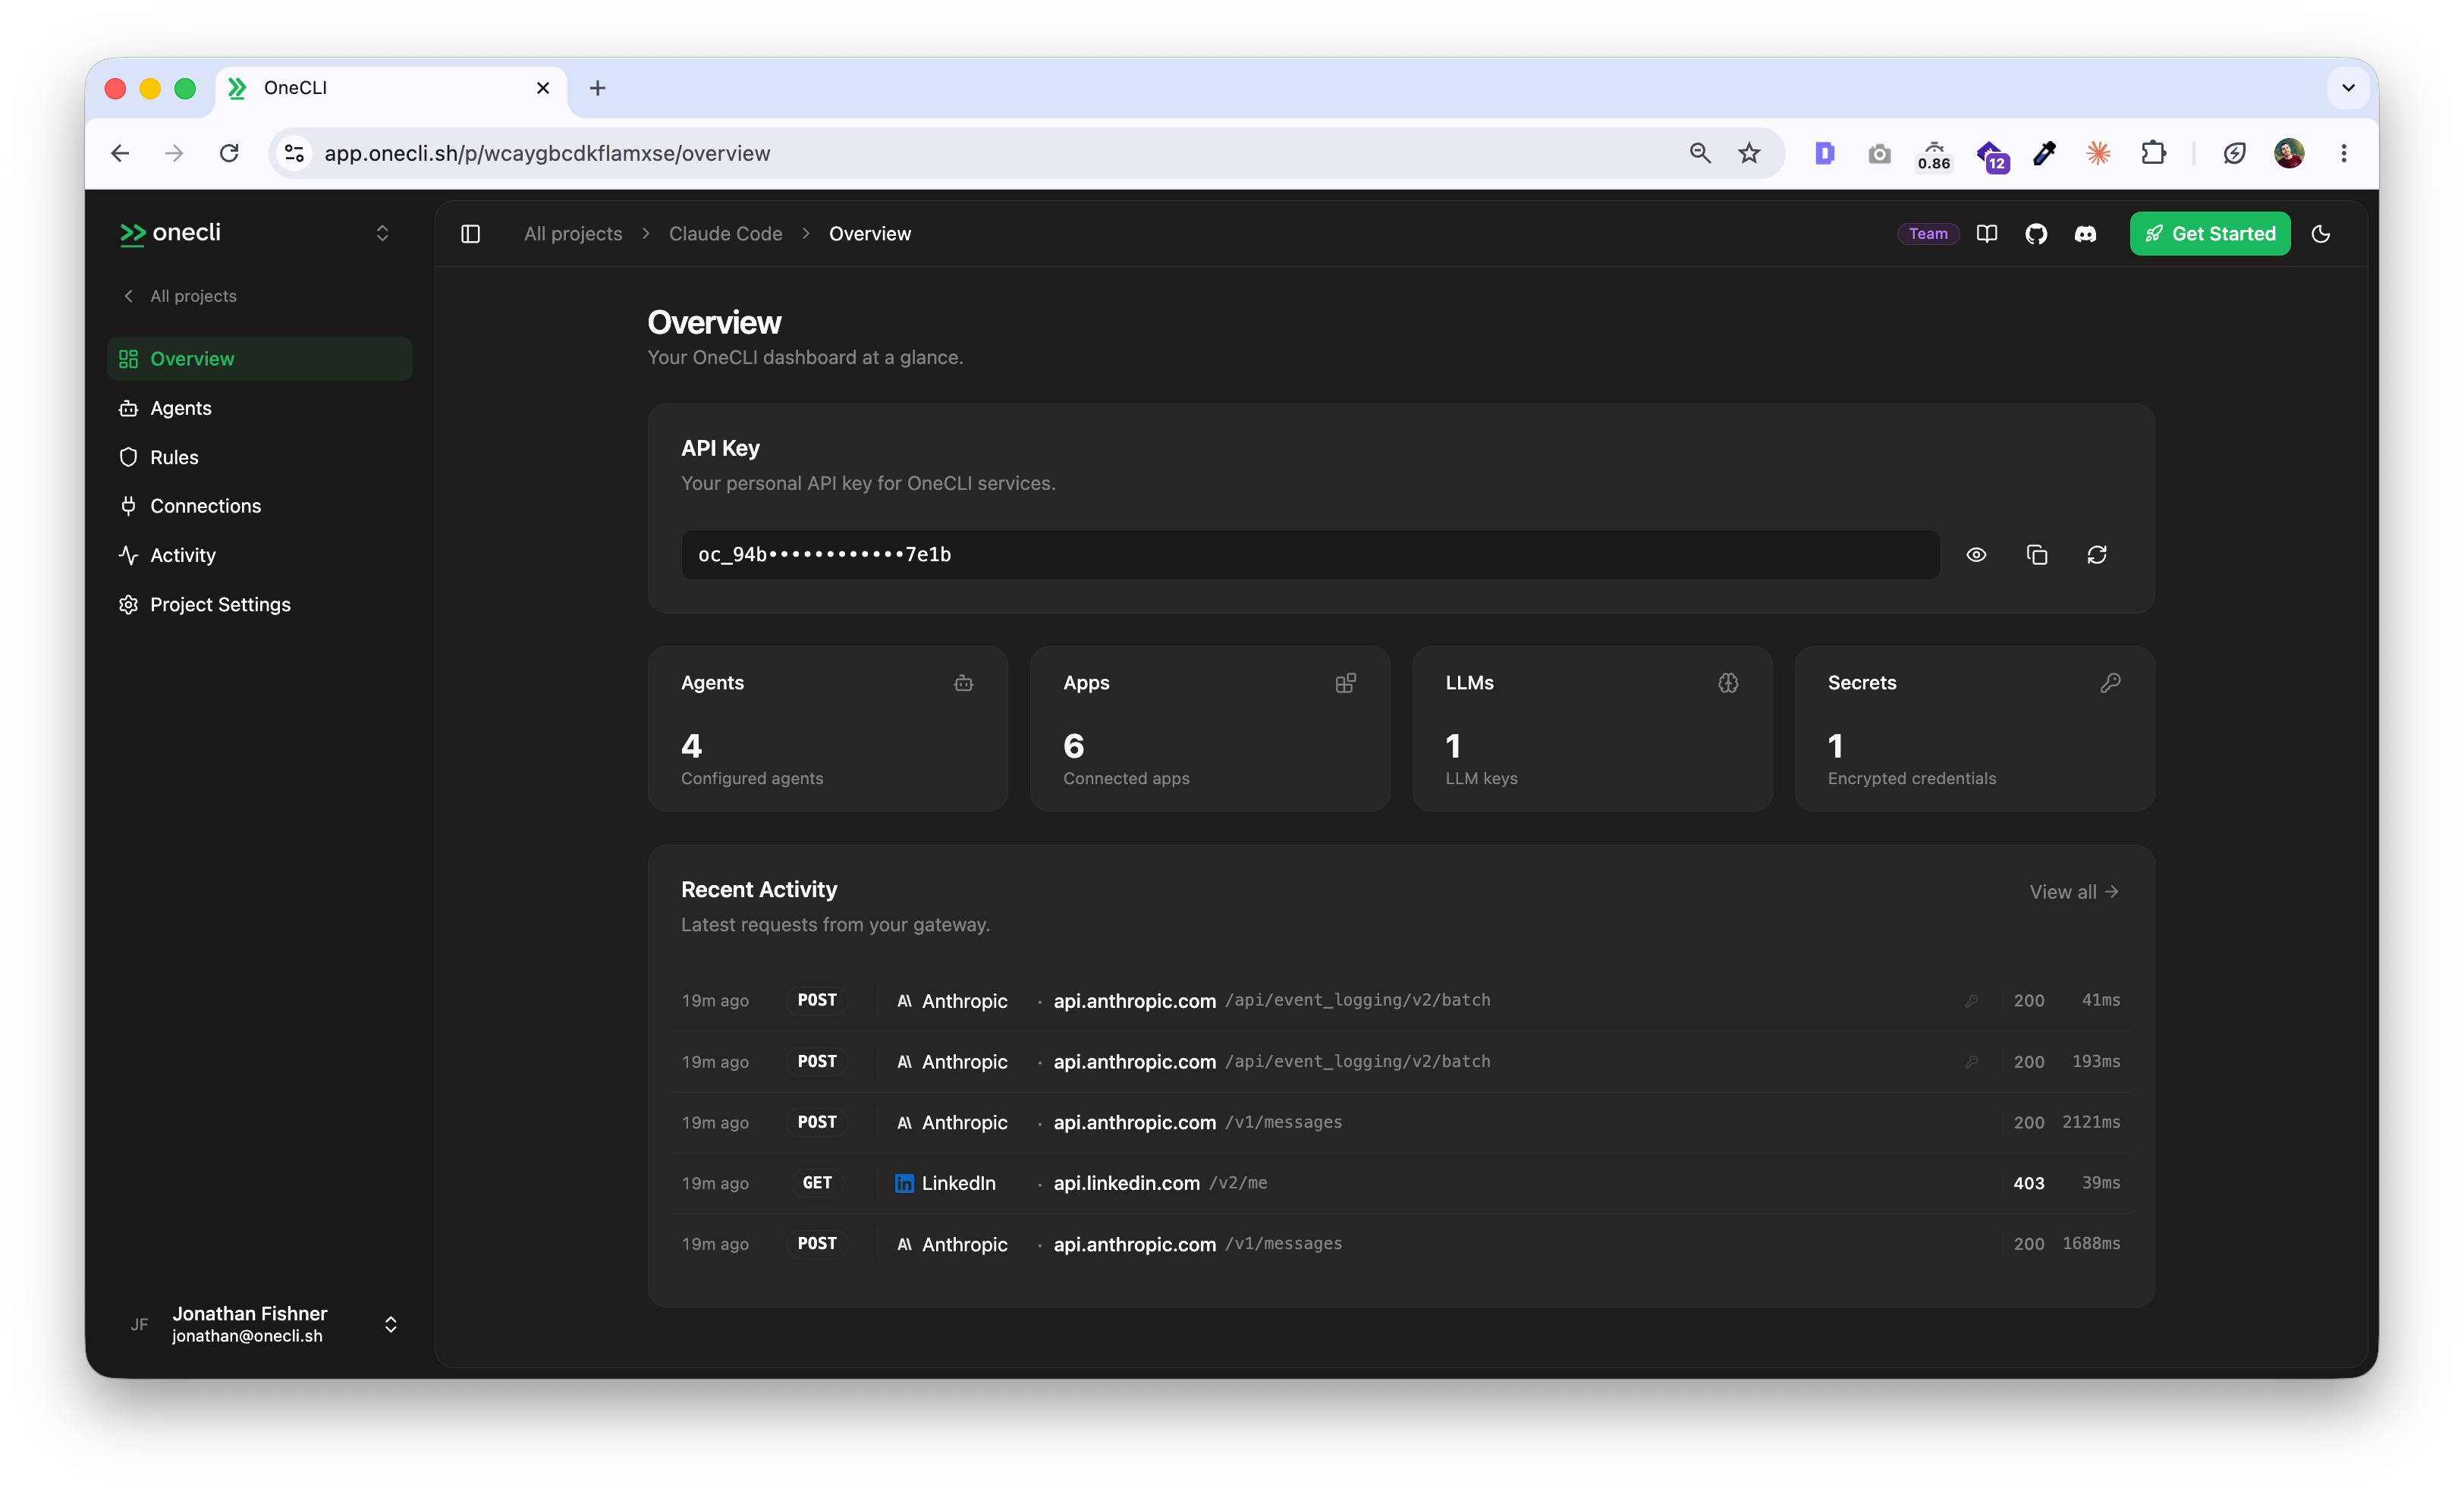
When you create an account, Hogpass generates a project and API key for you automatically. Use it with the CLI, SDKs, or API.
```bash theme={null}
export ONECLI_API_KEY=oc_your_api_key
```
## Connect your first agent
The fastest way to get started is with the Hogpass CLI. Install it and run your coding agent through it:
```bash theme={null}
curl -fsSL onecli.sh/cli/install | sh
onecli auth login --api-key $ONECLI_API_KEY
onecli run -- claude
```
That's it. Your agent's HTTP calls now route through Hogpass, which injects credentials and enforces [rules](/docs/guides/rules) automatically.
For Docker-based agents, use the [Node.js SDK](/docs/sdks/node):
```typescript theme={null}
import { OneCLI } from "@onecli-sh/sdk";
const onecli = new OneCLI({ apiKey: "oc_your_api_key" });
const args = ["run", "-i", "--rm", "--name", "my-agent"];
await onecli.applyContainerConfig(args);
// args now has HTTPS_PROXY, CA certs, and volume mounts
```
## How it works
Hogpass runs a transparent gateway that intercepts outgoing HTTP requests, checks them against your [rules](/docs/guides/rules), injects credentials from an encrypted vault, and forwards them to the right service.
* Credentials are AES-256-GCM encrypted at rest and decrypted only at request time. Your agents never hold raw API keys.
* Rules let you block operations, rate-limit sensitive actions, and scope access per agent.
* The [dashboard](https://app.onecli.sh) is where you manage agents, secrets, rules, and audit logs.
## Explore
Full setup guide with step-by-step instructions.
Architecture: gateway, vault, rules, and how the pieces fit together.
Connect Google, GitHub, Slack, AWS, and 30+ other services.
Node.js, Python, Go, Rust, and more.
Block operations, rate-limit actions, and require manual approval.
Run Hogpass on your own infrastructure with Docker.
## Get your API key
When you create an account, Hogpass generates a project and API key for you automatically. Use it with the CLI, SDKs, or API.
```bash theme={null}
export ONECLI_API_KEY=oc_your_api_key
```
## Connect your first agent
The fastest way to get started is with the Hogpass CLI. Install it and run your coding agent through it:
```bash theme={null}
curl -fsSL onecli.sh/cli/install | sh
onecli auth login --api-key $ONECLI_API_KEY
onecli run -- claude
```
That's it. Your agent's HTTP calls now route through Hogpass, which injects credentials and enforces [rules](/docs/guides/rules) automatically.
For Docker-based agents, use the [Node.js SDK](/docs/sdks/node):
```typescript theme={null}
import { OneCLI } from "@onecli-sh/sdk";
const onecli = new OneCLI({ apiKey: "oc_your_api_key" });
const args = ["run", "-i", "--rm", "--name", "my-agent"];
await onecli.applyContainerConfig(args);
// args now has HTTPS_PROXY, CA certs, and volume mounts
```
## How it works
Hogpass runs a transparent gateway that intercepts outgoing HTTP requests, checks them against your [rules](/docs/guides/rules), injects credentials from an encrypted vault, and forwards them to the right service.
* Credentials are AES-256-GCM encrypted at rest and decrypted only at request time. Your agents never hold raw API keys.
* Rules let you block operations, rate-limit sensitive actions, and scope access per agent.
* The [dashboard](https://app.onecli.sh) is where you manage agents, secrets, rules, and audit logs.
## Explore
Full setup guide with step-by-step instructions.
Architecture: gateway, vault, rules, and how the pieces fit together.
Connect Google, GitHub, Slack, AWS, and 30+ other services.
Node.js, Python, Go, Rust, and more.
Block operations, rate-limit actions, and require manual approval.
Run Hogpass on your own infrastructure with Docker.