

Overview
Hogpass connects AI agents to Attio through OAuth or a scoped API key. Agents can read and manage CRM data such as contacts, companies, deals, lists, notes, and tasks, with credentials injected into requests to the Attio API automatically. This is useful for agents that enrich records, move deals through a pipeline, or capture notes and tasks without manual CRM data entry.How it works
Hogpass sits between your agent and Attio as a transparent proxy. When an agent calls the Attio API, the gateway matches the request, injects the stored credential, and forwards it toapi.attio.com. Your agent never sees the token or API key.
Because the gateway speaks the Attio REST API directly, agents use the same endpoints and request shapes as any Attio client. There is no SDK to install and no Attio-specific code in your agent. You connect Attio once, assign it to an agent, and the agent can read and write CRM data within the permissions you grant.
Hogpass also handles the connection lifecycle. For OAuth connections it refreshes expiring access tokens for you. For API key connections it injects your key on every request. In both cases credentials are encrypted at rest and only decrypted inside the gateway at request time.
Setup
OAuth is the default connection method and requires no setup beyond authorizing Hogpass.1
Go to Connections
Open the Hogpass dashboard and navigate to Connections > Attio.
2
Authorize
Click Connect to Attio. You’ll be redirected to Attio to sign in and authorize Hogpass. Review the requested permissions and click Allow.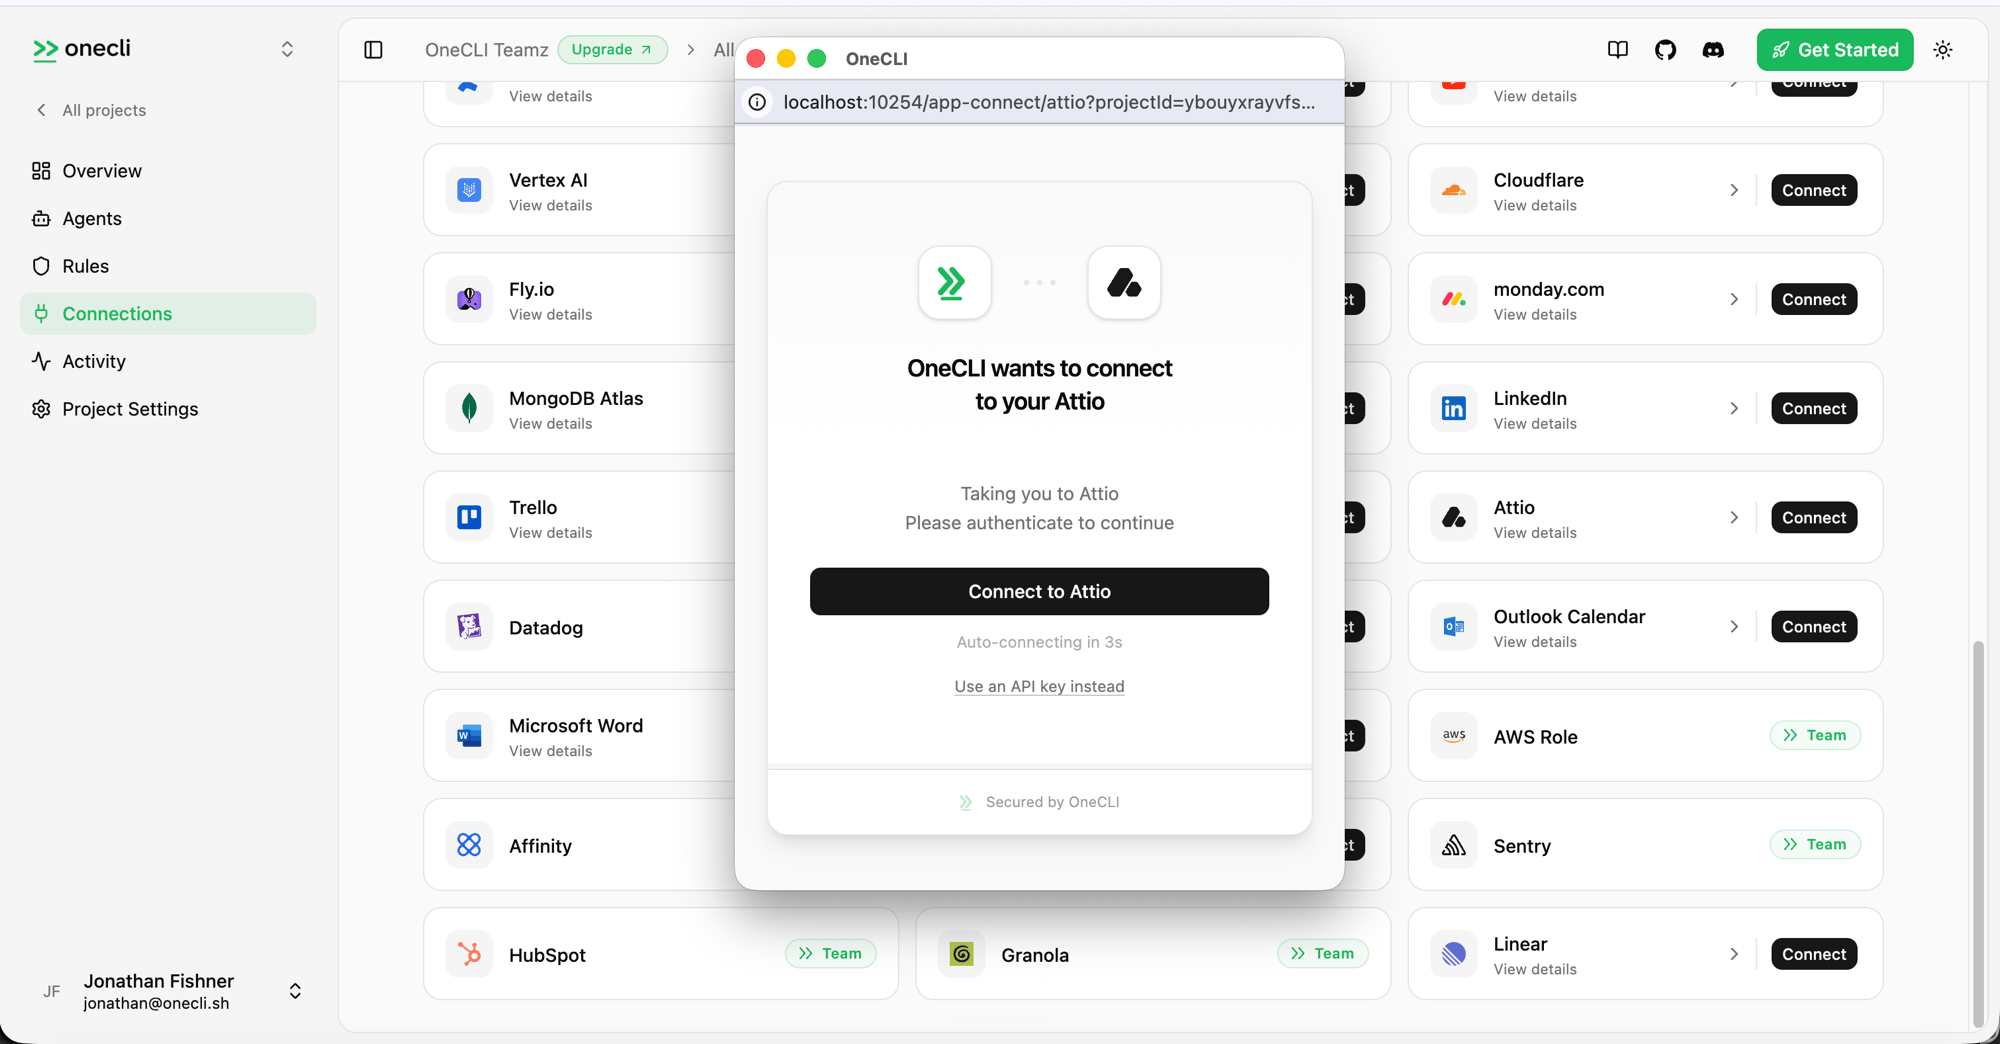
3
Verify
After authorizing, you’ll return to the dashboard. The connection shows as Connected with your Attio workspace name.
Configure
OAuth works out of the box. If you want tighter control over what an agent can reach, connect Attio with your own API key instead and grant it only the scopes you need, rather than the full OAuth scope set. For example, create a read-only key, or one limited to specific objects.1
Create a scoped API key in Attio
In Attio, create an API key and select only the scopes your agents require. Attio’s guide walks through this: Generating an API key.
2
Connect in Hogpass
In the Hogpass dashboard, open Connections > Attio, choose Use an API key instead, and paste your key. Hogpass injects it into requests the same way it does an OAuth token.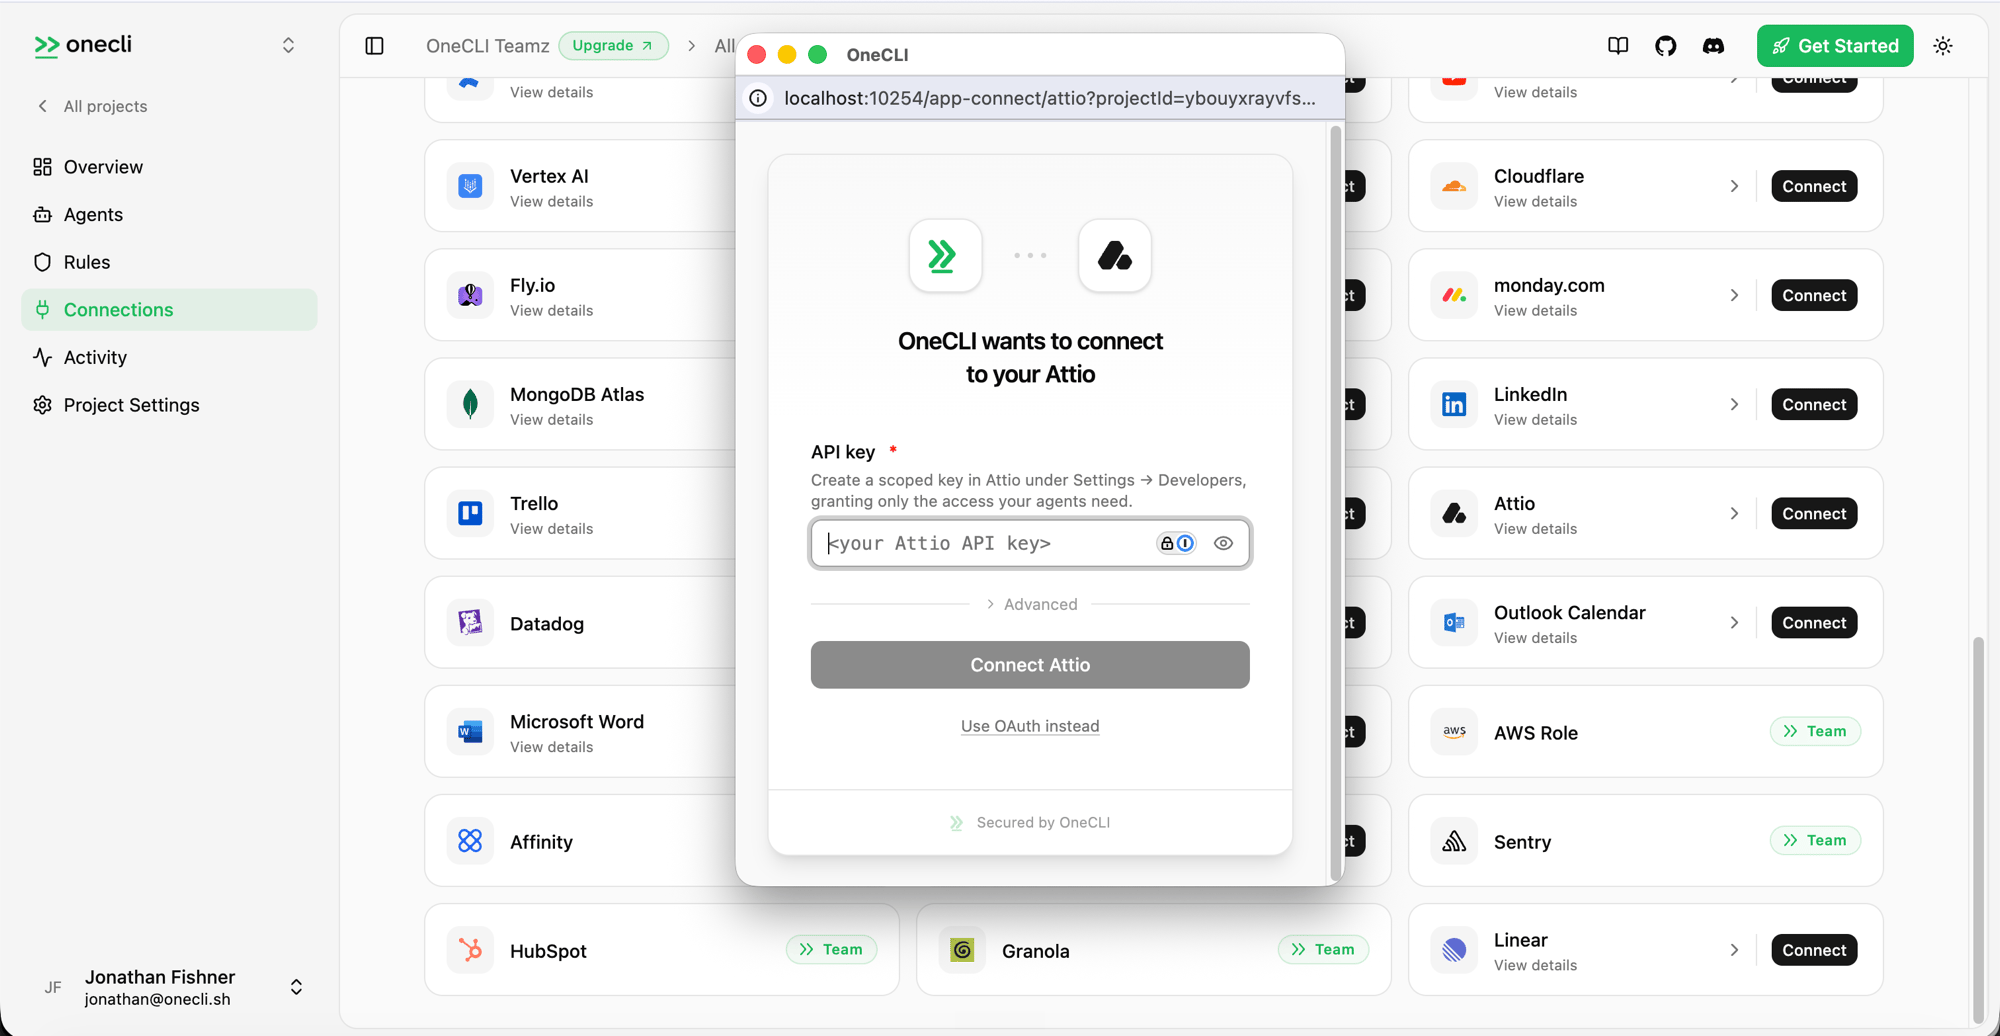
Permissions
OAuth connections request the following scopes. With an API key, you choose the scopes when you create the key in Attio.What agents can do
- Search and manage contacts, companies, and deals
- Create and update records, custom objects, and attributes
- Organize lists and list entries
- Add notes, tasks, and comments to records
- Upload and read files attached to records
- Read meeting details and call recording transcripts
- Manage webhooks for real-time updates
Disconnecting
You can disconnect Attio at any time. OAuth connections- In Hogpass, open Connections > Attio and remove the connection.
- In Attio, you can also revoke access by uninstalling Hogpass from the installed apps section of your workspace settings.
- In Hogpass, open Connections > Attio and remove the connection.
- In Attio, revoke or delete the API key so it can no longer be used.